5 Secrets to Making the Best Bread: A Guide from https://me-encantas.com/2021/05/18/5-consejos-para-hacer-el-mejor-pan/
Creating the perfect loaf of bread can be a transformative experience, connecting tradition with creativity. Whether you’re new to baking or a seasoned pro, these tips will elevate your bread to bakery-quality perfection. This guide combines insights from the King Arthur Baking Blog, the https://me-encantas.com/2021/05/18/5-consejos-para-hacer-el-mejor-pan Blog, and other trusted sources to ensure success in every bake.
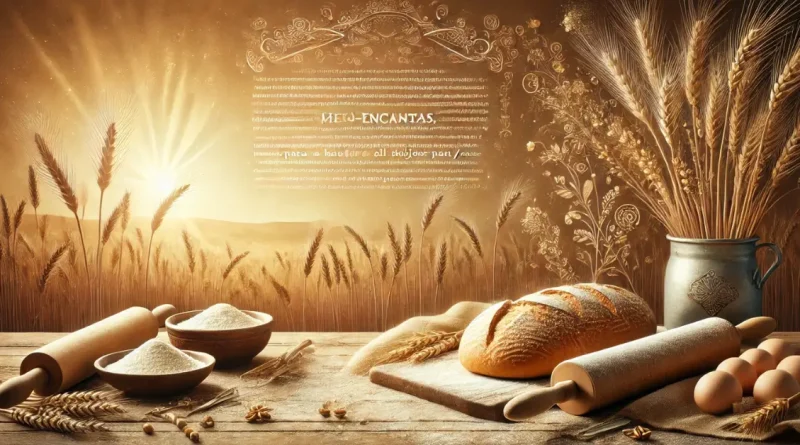
The Foundation of Perfect Bread
Every masterpiece starts with a strong foundation, and bread is no exception. Before diving into the technical aspects of baking, it’s essential to focus on the basics: ingredients and preparation. These initial steps set the stage for the rest of the process, ensuring consistent and flavorful results.
Selecting the right ingredients and understanding their roles is crucial. The quality of flour, yeast, and other components directly affects the taste and texture of your bread. In this section, we’ll explore the importance of these elements and how to choose the best options for your needs.
Choosing High-Quality Ingredients
The foundation of great bread is exceptional ingredients. High-quality flours like wheat flour or rye flour provide robust flavor and structure. When using active dry yeast or a sourdough starter, prioritize freshness to achieve a reliable rise.
- Unbleached, high-protein flour enhances gluten development, resulting in a better crumb.
- Maintain your levain or starter with regular feedings to keep it active and healthy.
- Experiment with whole grain flours to add depth and texture to your artisan bread.
The Role of Water and Salt
Water is more than a mixing medium; it influences hydration levels, dough elasticity, and fermentation. Likewise, salt regulates yeast activity and enhances flavor. A balanced combination of these elements ensures your bread’s success.
- Use filtered water to avoid chlorine’s adverse effects on yeast.
- Add salt after the autolyse method to prevent disrupting gluten formation early in the process.
Dough Preparation: From Mixing to Shaping
Once you’ve gathered your ingredients, it’s time to transform them into dough. This stage involves careful mixing, kneading, and shaping to achieve a cohesive structure. Proper technique ensures an even crumb and a visually appealing loaf.
Hydration Levels and Mixing Methods
Hydration percentage is a key factor in dough consistency. The autolyse method, where flour and water are combined before adding yeast and salt, encourages gluten development and makes the dough easier to handle.
- High-hydration doughs (70-80%) yield airy, open crumbs but require more skill.
- Mix the dough until it reaches a smooth, elastic texture, avoiding overmixing.
Kneading and Stretching Techniques
Traditional kneading is effective, but modern methods like the stretch and fold technique are gentler on dough, especially with high hydration levels. During bulk fermentation, handle the dough with care to retain gas bubbles.
- Stretch and fold every 30 minutes during bulk fermentation for optimal results.
- Avoid tearing the dough while shaping to maintain its structure.
| Hydration Level | Dough Texture | Best Use |
| 60-65% | Firm and pliable | Sandwich bread |
| 70-75% | Soft and elastic | Artisan loaves |
| 80%+ | Very sticky and loose | Ciabatta, focaccia |
Proofing: Unlocking Flavor and Texture
Proofing is the phase where dough rests and rises, allowing yeast to ferment and create flavor. This step requires patience and attention to detail to avoid over- or under-proofing. Using tools like proofing baskets or containers can help shape and support the dough.
Also Read: l_mbsau_e: Your Guide to Industry 4.0 Excellence
Mastering Proofing Timing
Timing is everything during proofing. Over-proofed dough collapses, while under-proofed dough produces dense bread. For beginners, using a timer and visual cues can make a significant difference.
- Dough should double in size during the first proof.
- Use the finger-poke test: gently press the dough; if it springs back slowly, it’s ready.
Retarding Dough for Better Flavor
Retarding dough, or refrigerating it overnight, enhances flavor by slowing fermentation. This technique is particularly effective for sourdough bread.
- Cover the dough tightly to prevent drying out during refrigeration.
- Allow the dough to come to room temperature before final shaping and baking.
Baking Techniques for the Perfect Loaf
The moment of truth in bread making is the bake. A well-preheated oven, proper steam, and accurate timing are essential to achieving a perfect crust and crumb. Using tools like a baking stone can further enhance results.
Preheating and Steam
A hot oven ensures a strong oven spring, while steam creates a glossy crust. Professional bakers often use steam injectors, but home bakers can replicate this by adding water to a hot pan.
- Preheat your oven to 475°F (245°C) for at least 30 minutes.
- Place a pan of boiling water on the oven’s bottom rack for the first 10 minutes of baking.
Scoring and Finishing Touches
Scoring the dough allows it to expand evenly during baking. Use a sharp blade or bread scoring tool to create clean, decorative cuts.
- Score at a shallow angle to control expansion.
- Brush with egg wash for a golden, shiny crust, or dust with flour for a rustic look.
| Tool | Purpose |
| Baking stone | Provides even heat distribution |
| Bread scoring tool | Controls loaf expansion |
| Proofing basket | Shapes dough during proofing |
Cooling and Storing Your Bread
The final step in bread making is just as important as the initial ones. Proper cooling ensures the crust remains crisp and the crumb sets, while appropriate storage maintains freshness.
The Importance of Cooling
Cooling bread on a wire rack prevents the crust from becoming soggy. Cutting into warm bread may seem tempting, but it can ruin the texture.
- Allow bread to cool for at least one hour before slicing.
- Use a thermometer to check the internal temperature; it should be around 190°F (88°C) for most breads.
Long-Term Storage Solutions
For longer shelf life, store bread in a cotton bag or bread box. Freezing is also an option; slice the loaf beforehand for convenience.
- Wrap slices in plastic wrap and store them in a resealable bag before freezing.
- Avoid refrigerating bread, as it accelerates staling.
Elevate Your Bread with Advanced Techniques
Once you’ve mastered the basics, consider experimenting with advanced techniques to further improve your bread. These methods require precision but can significantly enhance flavor and texture.
Incorporating Specialty Flours
Specialty flours like spelt, einkorn, or kamut add unique flavors and textures to bread. These ancient grains often have lower gluten content, requiring slight adjustments to hydration and mixing techniques.
- Mix specialty flours with wheat flour for better structure.
- Experiment with ratios to find the perfect balance for your loaf.
Using Fermentation for Flavor
Long fermentation times allow complex flavors to develop. Incorporate methods like levain builds or preferments for added depth.
- A poolish or biga creates a mild, nutty flavor.
- Levain adds tangy notes, especially in sourdough bread.
| Method | Fermentation Time | Flavor Profile |
| Poolish | 12-16 hours | Mild and nutty |
| Biga | 16-24 hours | Rich and aromatic |
| Levain | 24+ hours | Tangy and complex |
Conclusion
Baking bread is both an art and a science, combining precise techniques with creative flair. By understanding the roles of ingredients, mastering dough handling, and employing professional baking methods, anyone can achieve bakery-quality results at home. The journey of bread making is filled with discoveries, from the first successful loaf to mastering advanced techniques like levain builds or high-hydration doughs.
As you continue to bake, remember that practice is key. Each loaf teaches you something new, bringing you closer to perfection. Share your creations, explore new recipes, and enjoy the simple pleasure of homemade bread.
FAQs About https://me-encantas.com/2021/05/18/5-consejos-para-hacer-el-mejor-pan
What is the best flour for bread baking?
High-protein wheat flour is ideal for most bread types, as it supports strong gluten development.
How can I make my bread fluffier?
Ensure proper hydration, kneading, and proofing times to create an airy crumb.
Why is my crust not crispy?
Introduce steam during baking and allow the bread to cool properly for a crisp crust.
Can I use whole grain flour exclusively?
Yes, but you may need to adjust hydration levels and fermentation times due to the bran content.
How do I maintain a sourdough starter?
Feed it regularly with equal parts flour and water, and store it in a cool, dry place to avoid over-fermentation.